
If you have purchased BNE eSIM, you will need to follow a few simple steps in order to install it on your iPhone.
iPhone models supporting the DSDS/eSIM
iPhone 15, iPhone 15 Plus, iPhone 15 Pro, iPhone 15 Pro Max, iPhone 14, iPhone 14 Plus, iPhone 14 Pro, iPhone 14 Pro Max, iPhone 13 mini, iPhone 13, iPhone 13 Pro, iPhone 13 Pro Max, iPhone 12 mini, iPhone 12, iPhone 12 Pro, iPhone 12 Pro Max, iPhone 11, iPhone 11 Pro, iPhone 11 Pro Max, iPhone XS, iPhone XS Max, iPhone XR, and iPhone SE.
1. Before starting the installation of your BNE eSIM, make sure you have updated to iOS 16.5 or later.
On your iPhone, go to Settings > General > Software Update and update to iOS 16.5 or later.
2. Make sure your carrier settings have been updated.
On your iPhone, go to Settings > General > About and follow the prompt to update to the latest carrier settings.
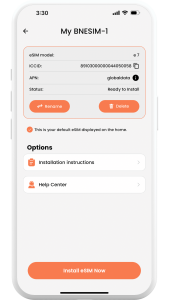
3. Please open the BNESIM app and navigate to the ‘My eSIMs’ page. From there, select the details of the relevant eSIM and click on Install eSIM Now. (Make sure you download the following application to activate your eSIM with one click.)![]() Install Now
Install Now
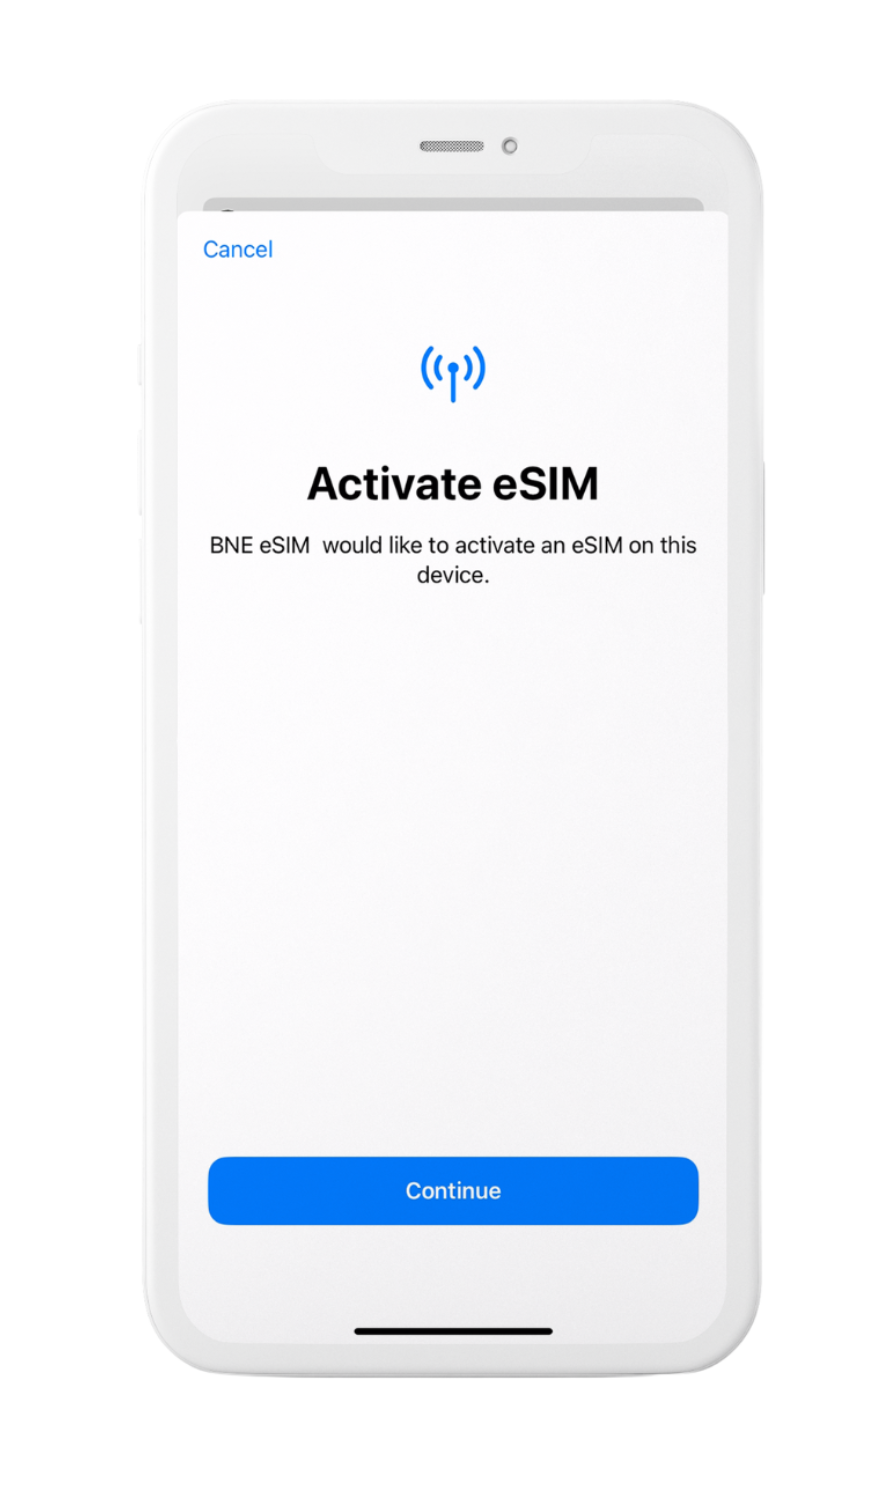
Make sure your device has a stable internet connection while installing your eSIM.
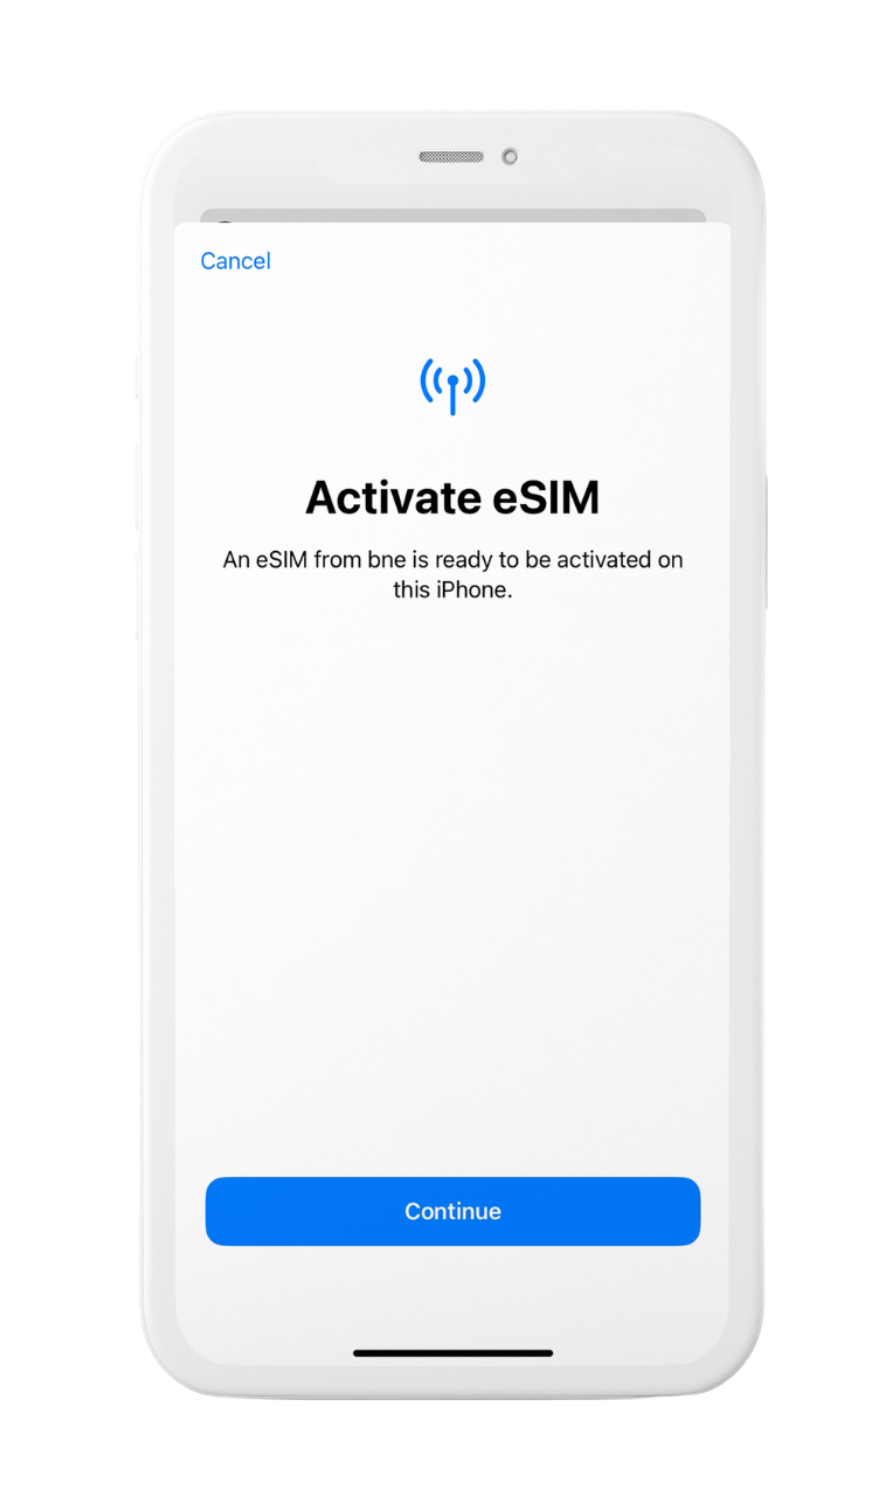
Please ignore if you receive any warning on the eSIM connection from Apple if you did not reach your destination yet. Your plan will be automatically activated upon landing at your destination and once connected to the local network
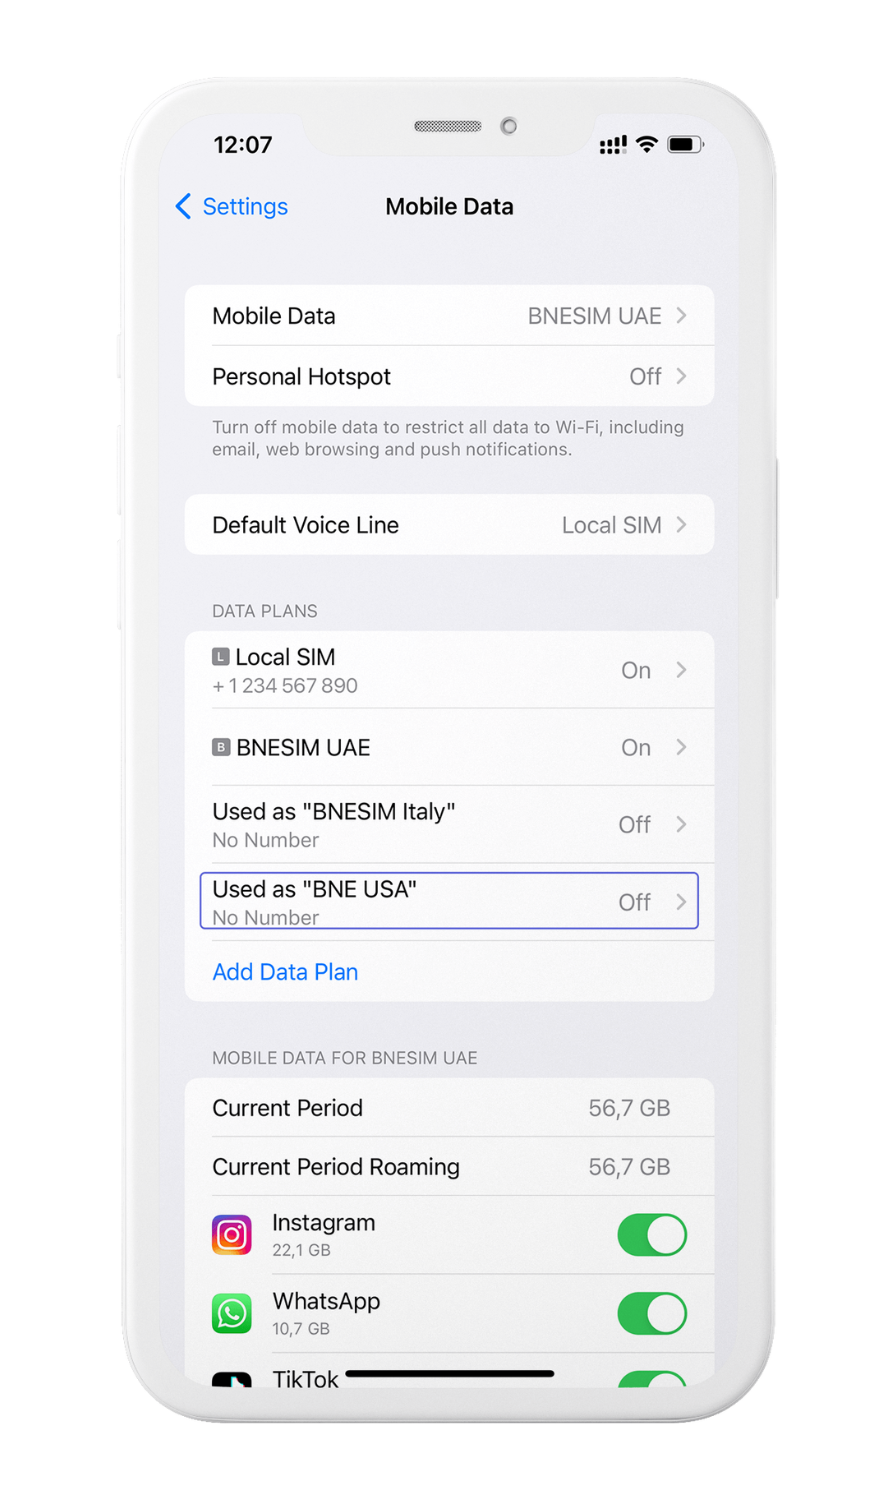
The following example is about installing a BNE eSIM in an iPhone that already has a SIM of a local operator installed.
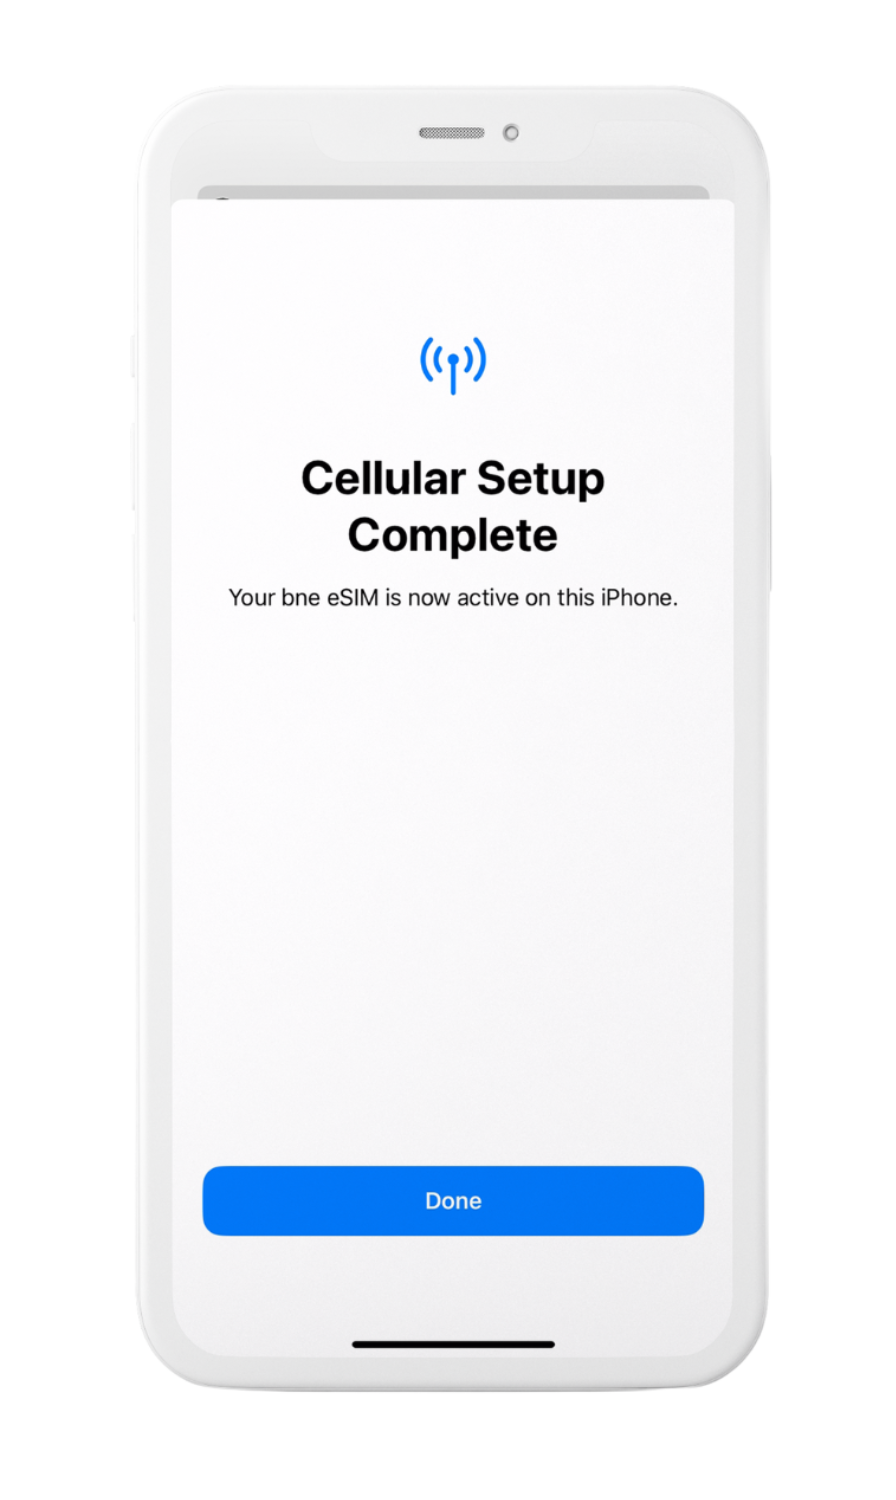
The “Secondary” SIM is the BNE eSIM you will install into your iPhone. Click the cellular plan label and use the custom label to change your eSIM name.

Make sure the line you want to use is on. To turn on a line, tap Settings, tap either Cellular or Mobile Data, and then tap the plan you want to use. Then tap Turn On This Line.
Once the line you want to use is on, tap Settings, tap either Cellular or Mobile Data, tap Cellular/Mobile Data and select the eSIM or the SIM card you want to use.
Input your search keywords and press Enter.