
Please ignore if you receive any warning on the eSIM connection from Apple if you did not reach your destination yet. Your plan will be automatically activated upon landing at your destination and once connected to the local network.
Please note this eSIM can only be installed once.
Do not remove it from you phone
Go to Settings > Cellular (or Mobile Data).
Tap Add eSIM or Add Cellular Plan.

Print out QR Code or display it on another device and then scan it in “Add Cellular Plan” option.
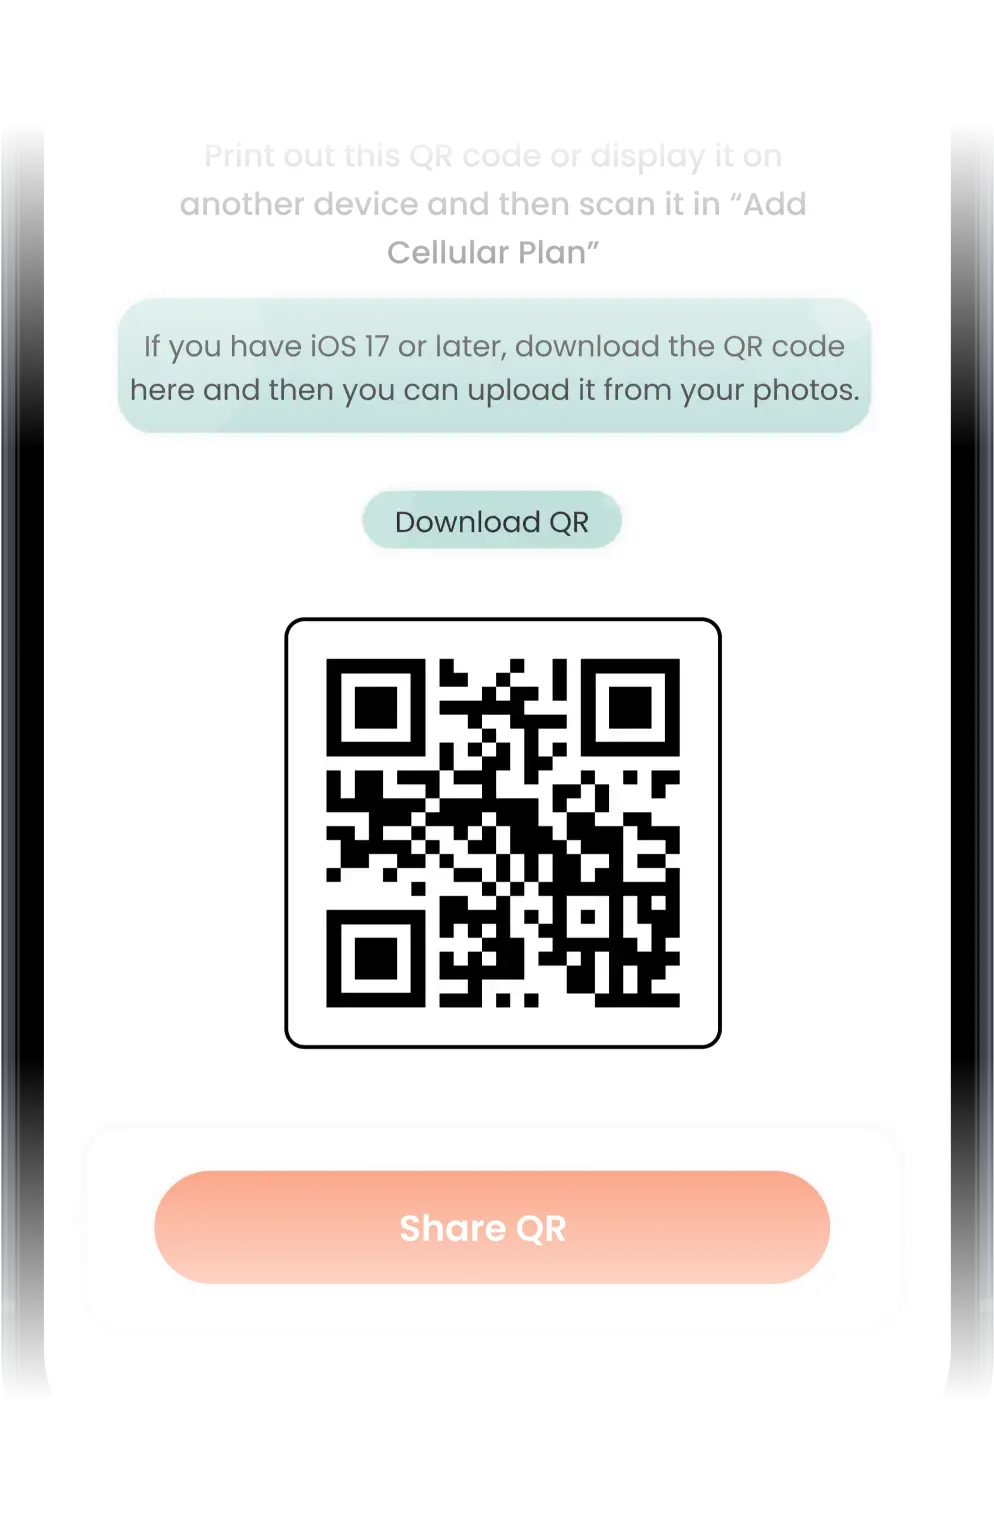
If you have iOS 17 or later, download the QR code and then you can upload it from your photos.
Alternatively, you can choose the option “Enter Details Manually“.
By selecting this option, you will be prompted to enter the “SM-DP+ Address” and “Activation Code”.
This can be found on the BNESIM application under the QR code.

Click Continue
The following example is about installing a BNE eSIM in an iPhone that already has a SIM of a local operator installed.

Click Continue

Click Done & Enjoy your eSIM
It is always useful to label your eSIMs as “BNESIM” for easy identification and avoid confusion.

For calling, FaceTime, messaging, iMessage

Select cellular data (BNESIM eSIM) for cellular.

Choose Primary “your existing plan” for cellular data.

You’re all set to start using your new eSIM and enjoy your mobile data worldwide!
Still need help?
If you still can’t set up the BNE eSIM on your iPad, contact the BNESIM Support.

Input your search keywords and press Enter.
| Cookie | Duration | Description |
|---|---|---|
| cookielawinfo-checkbox-analytics | 11 months | This cookie is set by GDPR Cookie Consent plugin. The cookie is used to store the user consent for the cookies in the category "Analytics". |
| cookielawinfo-checkbox-functional | 11 months | The cookie is set by GDPR cookie consent to record the user consent for the cookies in the category "Functional". |
| cookielawinfo-checkbox-necessary | 11 months | This cookie is set by GDPR Cookie Consent plugin. The cookies is used to store the user consent for the cookies in the category "Necessary". |
| cookielawinfo-checkbox-others | 11 months | This cookie is set by GDPR Cookie Consent plugin. The cookie is used to store the user consent for the cookies in the category "Other. |
| cookielawinfo-checkbox-performance | 11 months | This cookie is set by GDPR Cookie Consent plugin. The cookie is used to store the user consent for the cookies in the category "Performance". |
| viewed_cookie_policy | 11 months | The cookie is set by the GDPR Cookie Consent plugin and is used to store whether or not user has consented to the use of cookies. It does not store any personal data. |